Getting Started in Armored Blox
From first join to a loadout you can trust in 2v2s.
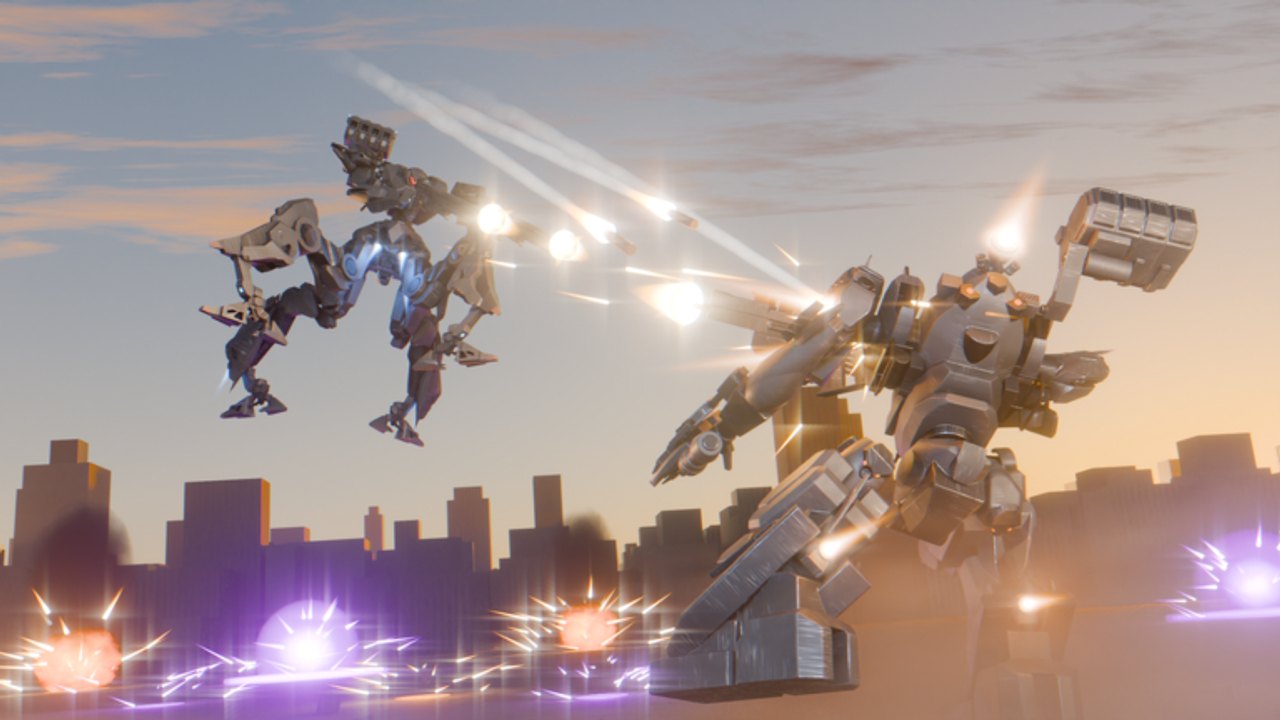
This Getting Started guide is the day-one path for Armored Blox on Roblox — the 48devs mech battlegrounds experience listed as [2v2s] Armored Blox [BETA]. You will join the place, learn garage / assembly basics, play a first match without panic, and decide what to unlock next. Keep expectations honest: the game is early access, so UI labels can move after expansions.
Before you press Play
- Open the official experience from our Links Hub (verify the 48devs BETA title).
- Make sure Roblox graphics and controls work on your device — mobile pilots should plan five extra minutes for layouts (Mobile tips).
- Skim the Wiki overview so you know this is AC-inspired 2v2 PvP, not a cozy tycoon.
- Optional: watch the embedded overview mid-article, then come back to the checklist.
You do not need scripts, paid “starter packs” from strangers, or fake code lists. Check Codes only for honest status.
Step 1 — Join and reach the garage
Launch Armored Blox and wait until you land in the hub / garage flow. Beta UIs differ by patch, but you are looking for the place where you equip frames, weapons, and supporting parts. If tutorials appear, complete them — even short prompts teach camera and boost vocabulary used later in Controls.
Take thirty seconds to note:
- Where Play / Queue lives
- Where Assembly / Garage lives
- Whether a Colors or cosmetics panel is already unlocked (custom AC colors are a known community-noted feature)
- Whether a Codes button exists yet (it may not)
Step 2 — Assembly basics without overthinking
Armored Blox borrows Armored Core energy: your machine is a system, not a single sword skin. For your first AC:
- Pick a mid-weight feeling frame if choices exist — light is unforgiving, heavy is slow to learn.
- Equip a primary you understand at mid range (rifle or versatile missile pressure beats mystery melee for lesson one).
- Add a close answer (shotgun archetype or melee) only if you already have an escape plan.
- Check weight and generator headroom. If the garage warns you are overloaded, listen.
- Save the loadout with a name you will recognize in chaos (“Mid Learn 1”).
Deep theory lives on Builds. Today is about a kit you can pilot while reading the minimap.
Step 3 — Controls crash course
Before queueing ranked ideas from Players, confirm:
- Move, camera, boost, and fire all respond
- You know how to stop boosting before you empty the tank
- Mobile players opened custom button layout and moved fire away from the camera thumb
Spend one private moment strafing and boosting in a low-pressure context. Full bind notes: Controls.
Step 4 — Your first match goals
Do not measure success by highlight kills. First-match goals:
- Deploy without menu panic.
- Keep camera on enemies long enough to learn silhouettes.
- Boost to reposition, not only to chase.
- Notice stagger moments — when an enemy AC looks interruptible.
- Survive long enough to see how a 2v2 collapse starts (usually after someone overcommits).
If you die early, watch the remaining fight. Beta lobbies teach spacing faster than another garage tweak.
Step 5 — After-action in five minutes
Ask three questions:
- Did I run out of boost first?
- Did my weapons match the range I actually fought at?
- Did I help a partner — or exist as a second solo?
Then change one thing. Over-tuning every slot creates noise. Use the Loadout checklist starting on day two.
What to unlock next
Priority order for most new pilots:
- Quality-of-life that stabilizes camera / mobile layout comfort
- A reliable mid primary you can aim under pressure
- Generator or leg upgrades that restore boost confidence
- A finisher weapon once you understand stagger from Combat
- Cosmetic colors for callouts (“blue mid on left”) — fun, not power
Avoid spending early currency on every expansion teaser part. Core expansions will keep arriving in beta; mastery beats hoarding.
Common day-one mistakes
- Copying an AC6 tournament kit that ignores Roblox timing
- Double shotgun with a random teammate and no peel plan
- Ignoring weight warnings because the mech “looks cooler” heavy
- Queueing angry after two losses instead of reviewing boost use
- Downloading executors because progression feels slow — read Scripts first
Day-one schedule (about one hour)
| Minutes | Activity |
|---|---|
| 0–10 | Join, tutorial, find garage |
| 10–25 | Build mid comfort kit |
| 25–35 | Controls / layout pass |
| 35–55 | Two or three learning matches |
| 55–60 | Notes + one loadout tweak |
Then stop or continue intentionally into Builds reading — not doomqueue.
How this fits the rest of the wiki
- Mechanics depth → Guides Hub
- Part strength → Tier List
- Patch shocks → Updates
- Duo habits → Ranked
You are ready when you can explain your AC’s job in one sentence: “I create space with missiles” or “I finish staggered targets.” If you cannot say that yet, stay in this guide’s loop for another session.
Frequently Asked Questions
Quick answers for Armored Blox pilots.
Is Armored Blox beginner-friendly?
Yes if you start mid-weight and focus on boost discipline. The BETA is rough around the edges, but the garage loop is learnable in an hour.
Should I play light or heavy first?
Start mid. Light punishes mistakes; heavy hides bad habits until you cannot escape. Specialize after Combat fundamentals.
Do I need codes to progress?
No. Codes are not confirmed as a wide public system yet. Learn assembly and combat instead of waiting on redeemables.
Can I play on mobile from day one?
Yes. Set a custom button layout early and follow the Mobile tips page so the UI does not fight you mid-boost.
What should I unlock first?
Comfort and boost trust: a mid primary, generator or legs that keep you mobile, then a finisher once you understand stagger.
Is this guide official?
No. It is unofficial fan documentation for the 48devs Roblox experience. Confirm UI changes in your live client after patches.